Editing images for Instagram can be a difficult task if you really want to stand out, be creative, and show visual coherence in all your photographs. I am sure you have seen, on several occasions, eye-catching Instagram profiles that are just too hard to ignore. Not only do they have unique photos, but they also have distinct styles that lend an air of continuity and uniformity to their overall branding. If you want to know how to manage these incredible feats, then keep reading!
Although the answer may sound simple, it does require a bit of knowledge in photography and editing. Creating your presets means adjusting a specific set of visual values in a photograph that you can save for later and use in other images. Doing this creates an easy, put-together feel among all your photos. There are several awesome photo editing applications, such as Lightroom CC, that boast this functionality. Can it be that easy? Yes and no. Applying the same preset to two different photos may yield slightly different results because of varying factors such as lighting, the device used to capture the image, and its camera settings. In cases like these, users may have to do a bit of touching up after applying the preset.
In this article, you will learn great ways to edit your Instagram photos to create continuity and coherence effectively without having to resort to a professional tool.
Table of Contents
How Do I Edit My Instagram Photos And Maintain Visual Coherence?
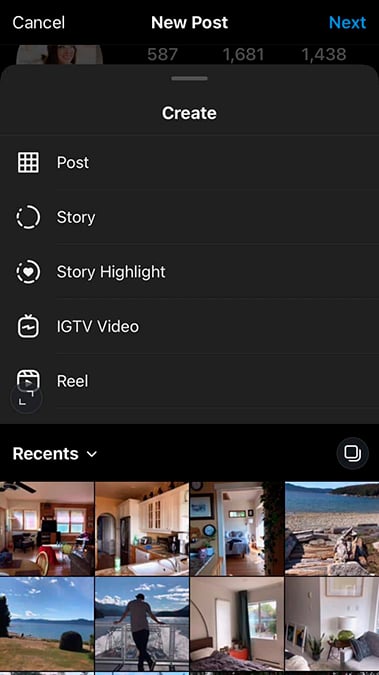
Editing your photos through Instagram is quite simple. All you have to do is launch the app, take a picture or upload one from your phone’s photo gallery. However, if your goal is to create a unique effect in your IG feed, then make sure you do the following steps:
1. Use a test account
If you want to try and test different filters to find out which one suits you best, having a test account allows you to apply several filters to the same photo, which you can then upload to your test profile. This way, you can check out each effect and see how they actually look after posting. You can pretend to be an Instagram follower and decide which photo appeals to you the most. The one that makes the final cut, gets to be uploaded on your real account.
2. Select the test photos
Narrow down your photo reel into images you want to upload on Instagram. Choose several photos that have varying light conditions, exposure, and objects. Then, have fun and play with the settings. Get a feel of how they react to different editing actions and understand what kind of photos look best under certain conditions.
3. Apply filters wisely
To apply a preloaded filter on Instagram, you simply need to open the app, upload a photo and click on “edit”. But if you do this without further editing, you run the risk of sharing a photo that looks similar to what other Instagram users post.
What can you do? After selecting a filter that you like, go to the “edit” window and adjust the different values under that filter to create a more special effect. Take note of the values you selected by writing them down or logging them on your phone so you can apply the same changes to other photos in the future.
Remember, however, that applying the same effect may not create the same results every time. You may have to do a bit of tweaking or adjust other values you did not touch in the past just to get a similar look.
“Creating a thematic brand with visual coherence means you don’t settle for filters alone. You need to learn how to modify other image properties such as brightness, color and saturation.”
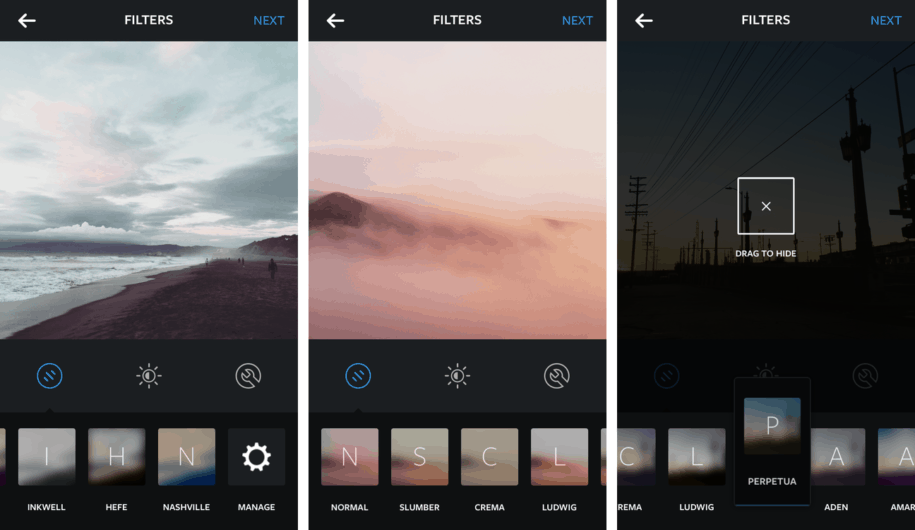
In the photo below, you can see how the adjustments should be done:
- Select Filter: Tap on the filter you want to start with, then select “edit”.
- Editing Options: You can then modify the color, contrast, brightness tilt-shift, and other elements of the photo.
How Do I Edit Instagram Photos Through Snapseed?
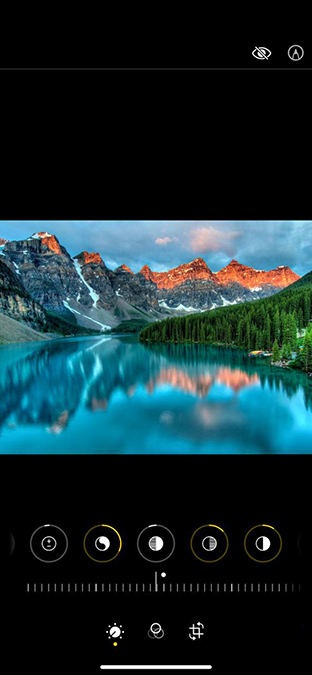
Snapseed enables you to edit your photos to make cuts, corrections, apply filters and create lovely effects. It is one of the apps in the market that has the most filters and “styles”. This makes it a good option when editing photos for Instagram.
As soon as you open the application, you will see the option to add a photo. You can then apply one of the default filters inside. However, if you want to create a different effect or manually add changes, then you can go to the tools section.
In this section, you will find different default effects that you can use to edit your photos. Among the most important sections are Glamorous Glow, Retro Lighting, Black and White, Vintage, Film Grain, and Noir. On the flip side, if you are not looking for filters or effects and all you need are a few minor adjustments before uploading to Instagram, the Snapseed correction tool will get you out of trouble.
If you want to edit the photo manually, then you can go to the “Tune Image” option. Here, you will have the option to edit the different values of the photo. Remember to write down these values and apply them to the rest of your photos if you want to create a unique, coherent effect in your feed.
At the end of the day, it doesn’t matter what application you use to edit photos for Instagram. Whether you settle for the native IG app, Snapseed, Lightroom CC, or some other photo editing tool, the most important thing to do is to remember the values that you stored so you can use them in the future. Make sure you are comfortable and satisfied with the style that you have chosen. After all, it will dictate the way your feed will appear to the world. Sticking to one style is undoubtedly the key to maintaining the visual coherence of a personal brand or company on Instagram.
Of course, doing all of this means you are serious about growing your Instagram account. You can also check out Simplygram and sign up for a free trial of our Instagram growth service to get more Instagram followers to appreciate your profile.
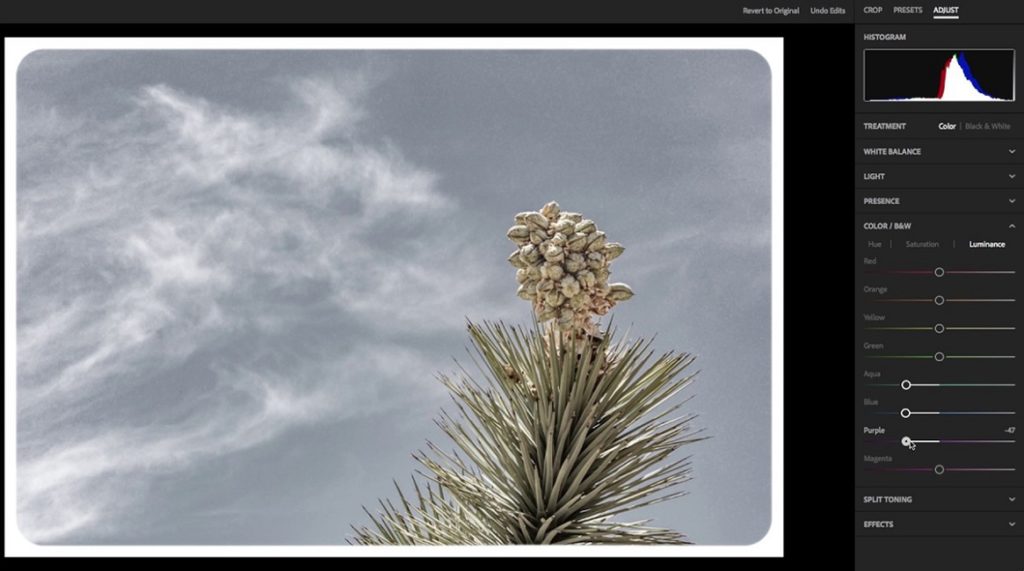
How Do I Edit Instagram Photos Through Lightroom CC?
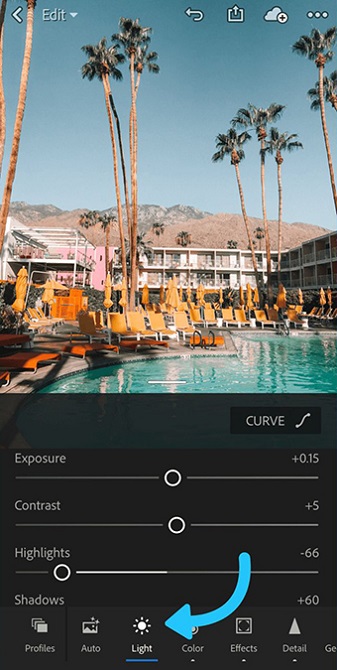
Adobe Lightroom CC is a free app for mobile devices based on the Adobe Lightroom Classic photo-editing computer program. It is currently one of the most complete mobile photo editing applications in the market.
In addition to having filters that you can apply as soon as you open the application, it allows you to make modifications that you can then save as “presets” and reuse them when you want.
On the other hand, if you are already an advanced user who uses Adobe Lightroom Classic from your computer, then you have probably created preset filters of your own before. You can export them to your mobile device so you can also use them anytime, anywhere.
There are also numerous online stores and influencers dedicated to selling packages of “preset filters”. If you don’t have the time to create your own preset, it can be a great idea to harness the power of collaboration and use other people’s creative styles to personalize the visual effect of your feed.
How Do I Create A Preset In Adobe Lightroom CC?
Before creating a preset, it is important that you identify the aspects of the photograph where you wish to apply your changes. Do you wish to adjust the tone, contrast, color, etc?
Make sure that the photographs have similar values. Otherwise, as mentioned before, you will have to make adjustments once the premade filter has been applied. Remember, our goal is to keep a cohesive feel throughout all images.
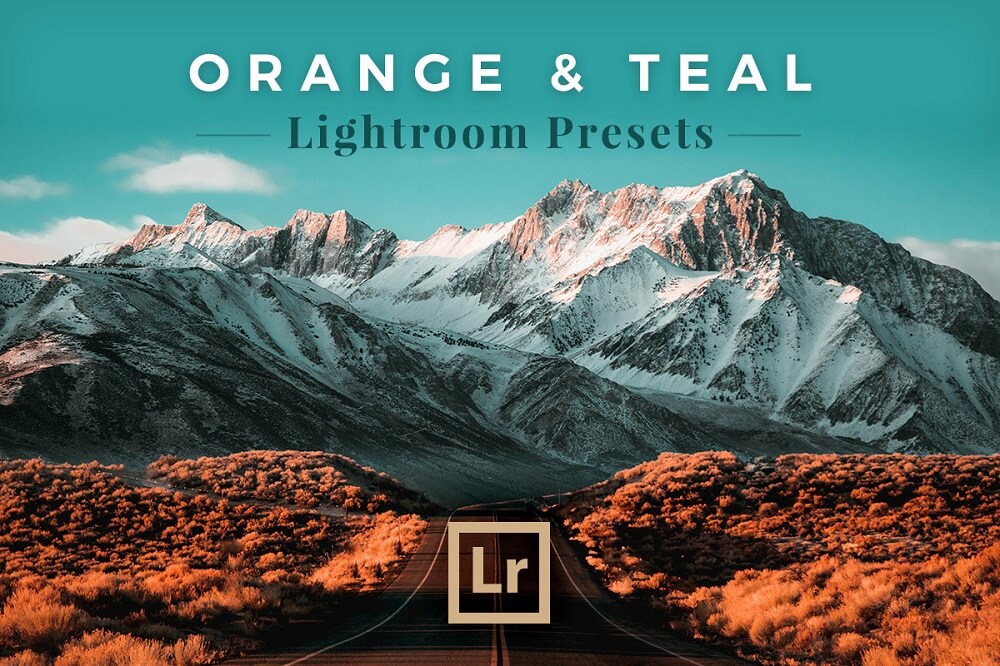
How Do I Create A “Teal And Orange” Effect With Lightroom?
At one point or another, I am sure you have been seduced by an account that uses the “Teal and Orange” effect. This style has been recognized for its ability to attract the attention of Instagram followers since it imitates the colors of sunset.
The popularity of this effect has also increased thanks to American films that frequently use similar filters in production. Many photographers noticed this approach and decided to apply them to photographs to give them a more cinematic feel, thus helping this effect spread through social media like wildfire.
Using Adobe Lightroom, you can create a similar effect by selecting the preset called “Warm Contrast”. Then, you can adjust the values to customize the appearance of the photo to your liking.
This is a good way to spruce up your feed with great care but minimal effort. As always, keep in mind that tiny tweaks may need to be done for slightly different photos. In a nutshell, all you have to do is follow some, or all, of these great tips and you are well on your way to creating an attractive feed that reflects your style and branding.
And hey, a great feed needs a bigger audience too. Don’t forget to use Simplygram to get Instagram famous and gain 30,000 followers in under a year.

- The Story of #Curvy: Analyzing Hashtags CORRECTLY - June 5, 2019
- Edit Photos Like An Influencer With These 4 Kick-Ass Apps for Instagram - June 4, 2019
- How To Set Up Instagram Parental Controls - May 5, 2019